구글 맵을 프로젝트에 이용하려고 했는데, 진짜 진짜 정보가 적어서 어떻게든 완성하였다.
나는 @googlemaps/react-wrapper를 이용하였고, 기본적인 세팅은 다른 글에서 보았다.
https://leirbag.tistory.com/158
React에서 Google Maps API를 자유롭게 사용하는 방법 (@googlemaps/react-wrapper)
React에서 Google Maps API를 사용하기 위해 사용하는 @react-google-maps/api나 react-google-maps 같은 라이브러리들을 사용하는 방법이 있을 것입니다. 이 라이브러리들을 사용하면 Google Maps API에 있는 주요 기
leirbag.tistory.com
많은 사람들이 document.createElement를 사용하였는데, 리액트를 사용하는 우리에게는 사실 ref가 존재한다.
나는 이 ref를 이용하여 구글 맵을 만들어 보았다.(마커랑 마커핀까지 ref로 만듬으로써 재사용성을 높였다.)
기본적인 골자
맵을 담는 컨테이너인 GoogleMapContainer 컴포넌트는 다음과 같다.
import { Status, Wrapper } from '@googlemaps/react-wrapper';
import GoogleMap from './GoogleMap';

const render = (status: Status) => {
  switch (status) {
    case Status.LOADING:
      return <>로딩중...</>;
    case Status.FAILURE:
      return <>에러 발생</>;
    case Status.SUCCESS:
      return <GoogleMap />;
    default:
      return <>에러발생</>;
  }
};

function GoogleMapContainer() {
  return (
    <Wrapper
      apiKey={process.env.REACT_APP_GOOGLE_MAP_KEY as string}
      render={render}
      libraries={['marker']}
    />
  );
}

export default GoogleMapContainer;
이제 Wrapper를 만들었으니까, 구글 api를 불러오는 것이 성공하였으면, GoogleMap 컴포넌트를 렌더링할 것이다.
GoogleMap 컴포넌트
import { useEffect, useRef, useState } from 'react';
import styles from './GoogleMap.module.scss';
import MapMarker from './MapMarker';

function GoogleMap() {
  const ref = useRef<HTMLDivElement>(null);
  const [googleMap, setGoogleMap] = useState<google.maps.Map>();

  useEffect(() => {
    if (ref.current) {
      const initialMap = new window.google.maps.Map(ref.current, {
        center: {
          lat: 37.549186395087,
          lng: 127.07505567644,
        },
        zoom: 16,
        mapId: process.env.REACT_APP_GOOGLE_VECTOR_MAP_KEY as string,
        /* disableDefaultUI: true,
        clickableIcons: false, */
        minZoom: 12,
        maxZoom: 18,
        gestureHandling: 'greedy',
        restriction: {
          latLngBounds: {
            north: 39,
            south: 32,
            east: 132,
            west: 124,
          },
          strictBounds: true,
        },
      });

      setGoogleMap(initialMap);
    }
  }, []);

  return (
    <div ref={ref} id="map" className={styles['google-map']}>
      {googleMap !== undefined ? <MapMarker map={googleMap} /> : null}
    </div>
  );
}

export default GoogleMap;
먼저, ref를 선언함에 있어 제네릭 타입을 HTMLDIVELEMNT로 선언한다. 그리고,
그 후, ref.current를 체크하고, 구글맵을 생성한다.
React-Learned/section08 at main · ash9river/React-Learned
Contribute to ash9river/React-Learned development by creating an account on GitHub.
github.com
useState로 구글맵의 정보를 저장한 것은 마커 컴포넌트에게 구글맵의 정보를 전달하기 위함이기도 있지만, 사실 프로젝트가 초기단계라서 그냥 local state로 만들어두었다.
이제 div에 ref를 통해서 구글맵을 렌더링할 수 있었으니, 마커와 마커핀을 만들어보자.
구글맵 마커 컴포넌트
마커와 연관되는 마커핀도 마커 컴포넌트에서 생성된 ref를 마커핀 컴포넌트에 전달함으로써, 재사용성을 높였다.
import { useEffect, useRef, useState } from 'react';
import styles from './MapMarker.module.scss';
import MapPin from './MapPin';
function MapMarker({ map }: { map: google.maps.Map }) {
if (map === undefined) return <>error</>; // react router의 errorElement를 사용할 수도 있지만, 일단 임시
const ref = useRef<HTMLDivElement>(null);
useEffect(() => {
if (ref.current) {
const initMarker = new google.maps.marker.AdvancedMarkerElement({
position: {
lat: 37.549186395087,
lng: 127.07505567644,
},
map,
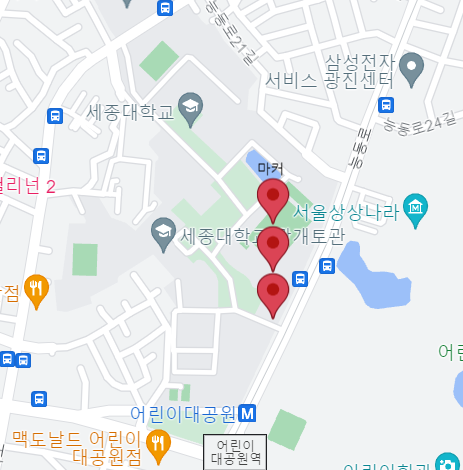
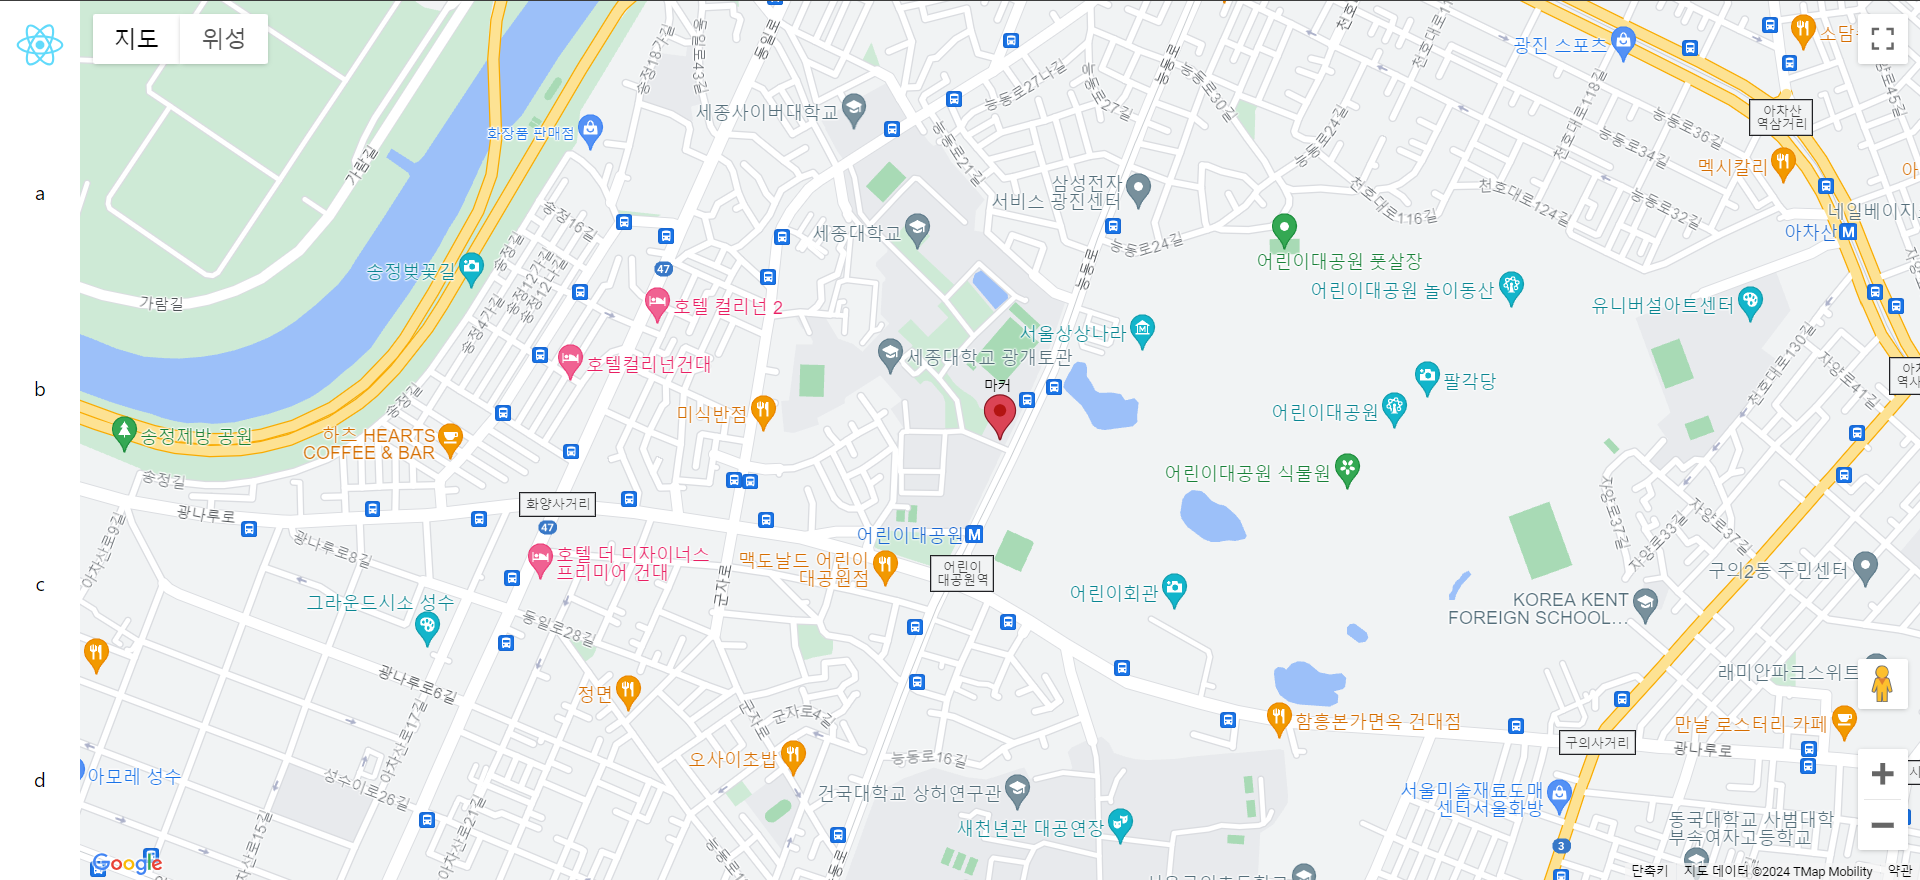
title: '이건 마커다 마커마커',
content: ref.current, // PinElement
// ref.current를 조정함으로써 마커의 커스텀이 가능해질수도?
});
return () => {
initMarker.map = null;
};
}
}, [ref]);
return (
<div className={styles.marker}>
<MapPin ref={ref}>마커</MapPin>
</div>
);
}
export default MapMarker;이제 구글맵 마커 컴포넌트를 통해 만들 것이다.
이 때, 구글맵 마커는 Advanced Marker를 사용하였다.
https://storage.googleapis.com/gmp-maps-demos/advanced-markers/index.html#intro-page
Advanced Markers - Google Maps Platform
More performant, more customizable, more feature rich.
storage.googleapis.com
new google.maps.marker.AdvancedMarkerElement에서 생성한 AdvancedMarkerElement의 content에 ref를 연결하고, 그 ref를 마커핀 컴포넌트에 전달한다.
useEffect를 사용하여 마커를 렌더링하는데, 이 때, cleanup 함수를 작성하지 않으면 마커핀이 여러 개 생성된다.
구글맵 마커핀 컴포넌트
import { ReactNode, forwardRef, useEffect } from 'react';

interface MapPinProps {
  children: ReactNode;
}

const MapPin = forwardRef<HTMLDivElement, MapPinProps>(function MapPin(
  { children },
  ref,
) {
  useEffect(() => {
    if (typeof ref !== 'function') {
      if (ref?.current) {
        const initPin = new google.maps.marker.PinElement({
          background: '#db4455',
          borderColor: '#881824',
        });
        ref.current.appendChild(initPin.element);
        console.log(initPin.element);

        return () => {
          ref.current?.removeChild(initPin.element);
        };
      }
    }
  }, []);
  return <div ref={ref}>{children}</div>;
});

export default MapPin;
forwardRef을 사용하여서, 마커엘리먼트에 있는 ref에 핀엘리먼트를 전달하고 있다.
물론, cleanup 함수도 작성해야 예기치 않은 동작이 발생하지 않는다.
기본적인 맵과 마커의 기본 구성 끝났으니, 동적으로도 추가할 수 있다.
이제 구글 맵 세팅은 끝났다!!
그러나 구글 맵은 성공적으로 렌더링했어도, ref를 useEffect를 통해 렌더링하기 때문에 잠재적인 위협이 있다.
만약에 모든 렌더링마다 트리거되는 useEffect가 아니라면, callback ref를 사용해야 한다.
이 글을 통해서 ref와 useEffect를 알아보자
https://ash9river.tistory.com/49
React 렌더링 사이클과 useEffect, 그리고 ref
ref와 useEffectuseEffect는 굉장히 섬세하다. 웬만해서는 사용해서는 안된다. 그런데, 이전에 구글 맵을 렌더링할 때, useEffect와 ref를 같이 사용함으로써, 예기치 못한 부작용들이 발생할 수 있었다.
ash9river.tistory.com
그리고 다음 포스팅을 통해 callback ref를 통한 구글맵을 만들어보자.
https://ash9river.tistory.com/50
React 구글 맵(googleMap) 최적화(with typescript)
지난 포스팅에서 useEffect 안에 ref.current를 업데이트 하는 방식으로 구글맵을 렌더링하였다.https://ash9river.tistory.com/36 React로 간단히 만들어보는 구글맵(with Typescript)구글 맵을 프로젝트에 이용하
ash9river.tistory.com
'React 관련 > 프로젝트' 카테고리의 다른 글
| [React] 우리집 고양이도 할 수 있는 카카오 로그인 구현(with firebase OAuth 2.0 소셜 로그인) (2) | 2024.08.12 |
|---|---|
| [React] 구글 로그인 기능 구현(with firebase 소셜 로그인 인증) (0) | 2024.08.07 |
| [React-Redux] 실제 프로젝트에 적용하고, thunk로 비동기 통신 구현 (0) | 2024.05.08 |
| React 구글맵(googleMap) 최적화(with typescript) (2) | 2024.04.26 |
| React의 Typescript와 함께 data fetching(axios로 API 호출) (0) | 2024.04.21 |


